

Finding maggots in trash can grime is one of those problems that goes from annoying to disgusting in about three seconds. The good news is that you can fix it fast, and if you clean the right spots, you can usually stop it from coming right back.

What you’ll need before you start
Set yourself up before you touch the bin. That makes the whole job quicker, less gross, and far less likely to turn into a stop-and-start cleanup with a hose running and nowhere to put the trash.
You only need a few basics: gloves, hot water, dish soap, disinfectant, a stiff brush, sealed trash bags, and a hose if you have one. If the can is especially bad, keep old towels nearby too. A pair of clothes you do not care about helps, especially if your bin has been sitting in the July heat near the garage.
Safety first: quick protection for skin, eyes, and smell
Put on gloves before you start. If you are working with a deep can, commercial bin, or anything that could splash back, eye protection is smart too. The smell can be rough, so standing upwind helps more than any fancy trick.
Keep the lid open only when you are actively cleaning. That limits flies, cuts down on odor drifting around, and gives you a little more control.
Pick the right place to clean
Clean the bin outside in a spot with drainage. A driveway, alley wash area, or back service pad works well because you can rinse without dragging mess through your house or building.
The easiest setup is simple: place the can on a slight slope near a drain or patch of gravel, open side facing away from you, hose on one side, trash bags on the other. Once everything is within reach, the job moves fast.
Step 1: remove the trash and seal up the source
<ol> <li>Empty the can completely.</li> </ol>
<ol> <li>Pull out every loose bag, scrap, and soggy piece stuck to the bottom.</li> </ol>
<ol> <li>Seal all waste before moving on to cleaning.</li> </ol>
Maggots show up because there is a food source and moisture. Cut off those two things first and the infestation loses momentum immediately. Do not try to scrub around active trash. Get it all out first.
Double-bag wet or infested trash
<ol> <li>Place leaking or infested trash into a fresh bag.</li> </ol>
<ol> <li>Tie it tightly.</li> </ol>
<ol> <li>Put that bag into a second bag and seal it again.</li> </ol>
That extra layer matters. It keeps liquid from dripping while you carry it and stops live larvae from ending up on the ground, the curb, or the side of the can you just cleaned.
Check the lid, handles, and rim
<ol> <li>Look under the lid.</li> </ol>
<ol> <li>Check around the rim, hinges, and handle attachments.</li> </ol>
<ol> <li>Remove any stuck-on food, residue, or egg clusters.</li> </ol>
The trick is cleaning the whole can, not just the bottom. Flies love hidden, damp spots, and the underside of the lid is a favorite.
Step 2: kill the maggots fast
<ol> <li>Start with heat.</li> </ol>
<ol> <li>Follow with soap or cleaner.</li> </ol>
<ol> <li>Use disinfectant or vinegar after the visible maggots are gone.</li> </ol>
This is the part most people care about most: getting the moving mess to stop. Heat works quickly, and it also loosens the slime that keeps the smell hanging around.
Pour boiling or very hot water carefully
<ol> <li>Heat water until very hot or boiling.</li> </ol>
<ol> <li>Pour it directly onto the visible maggots and the dirtiest areas.</li> </ol>
<ol> <li>Let it sit for a minute before scrubbing.</li> </ol>
Hot water kills maggots fast and softens the caked-on grime at the same time. Be careful with thin plastic cans, though. Pour slowly to avoid splashing and to reduce the chance of warping a lightweight bin.
Add soap or a basic cleaning solution
<ol> <li>Squirt dish soap around the inside walls and bottom.</li> </ol>
<ol> <li>Add a little more hot water.</li> </ol>
<ol> <li>Scrub until the slippery film starts to break up.</li> </ol>
Dish soap is not fancy, but it works. Think of it like cleaning a frying pan that sat too long in the sink. The soap cuts through the greasy layer that keeps odors and residue stuck in place.
When to use disinfectant or vinegar
<ol> <li>Use disinfectant if you want to sanitize after the mess is removed.</li> </ol>
<ol> <li>Use vinegar if the main problem is lingering odor or residue.</li> </ol>
<ol> <li>Do not mix products together.</li> </ol>
Disinfectant is for germs. Vinegar is better for smell and mineral-like buildup. If your bin is from a home kitchen route, vinegar can help a lot with sour odor. If it is a commercial can exposed to food waste, disinfectant is usually the better follow-up.
Step 3: scrub the inside of the trash can
<ol> <li>Use a stiff brush on the bottom and sides.</li> </ol>
<ol> <li>Work from the top down.</li> </ol>
<ol> <li>Keep scrubbing until the slick film is gone.</li> </ol>
Here’s the thing: dead maggots are only half the problem. If the slime stays, the smell stays, and flies pick up on that fast.
Focus on the bottom corners and lid grooves
<ol> <li>Scrub the bottom edges thoroughly.</li> </ol>
<ol> <li>Get into molded seams and grooves under the lid.</li> </ol>
<ol> <li>Repeat with more soap if the brush drags through residue.</li> </ol>
These areas trap old food, grease, and moisture. If your can still smells bad after a quick rinse, this is usually why.
Don’t Forget the outside of the can
<ol> <li>Wash the sides, wheels, lid top, and handles.</li> </ol>
<ol> <li>Rinse off any drips running down the exterior.</li> </ol>
<ol> <li>Clean the ground right around the bin if needed.</li> </ol>
A sticky exterior still attracts flies. That matters even more near garages, back doors, alleys, and loading zones where spilled trash juice can keep the whole area smelling off.
Step 4: rinse and disinfect the can
<ol> <li>Rinse away loosened debris and soap.</li> </ol>
<ol> <li>Apply disinfectant evenly.</li> </ol>
<ol> <li>Let it sit for the full label time.</li> </ol>
A can is not really clean when it just looks better. The rinse and disinfect step is what turns a gross bin into one you can actually use again.
Rinse until the water runs clear
<ol> <li>Spray the inside from top to bottom.</li> </ol>
<ol> <li>Keep rinsing until no suds or dirty water remain.</li> </ol>
<ol> <li>Tilt the can so water drains fully.</li> </ol>
Clear rinse water is your checkpoint. If the runoff is still cloudy, greasy, or foamy, there is still residue inside.
Apply disinfectant the right way
<ol> <li>Spray or pour disinfectant over the inside surfaces.</li> </ol>
<ol> <li>Cover the lid underside and rim too.</li> </ol>
- Leave it for the label’s contact time, which just means how long it needs to stay wet to work.
Do not rush this part. Wiping it off too early is like taking soap off your hands after one second. It looks done, but it is not.
Step 5: dry the can completely before using it again
<ol> <li>Drain out all standing water.</li> </ol>
<ol> <li>Leave the lid open.</li> </ol>
<ol> <li>Wait until the interior is dry before adding new trash.</li> </ol>
Moisture is the catch. Flies love a damp bin almost as much as a dirty one.
Air-dry with the lid open
<ol> <li>Set the can in the sun if possible.</li> </ol>
<ol> <li>Prop the lid open for airflow.</li> </ol>
<ol> <li>Turn the can slightly so water does not pool in one corner.</li> </ol>
Sun and moving air do a lot of the work here. Even twenty or thirty minutes can make a big difference on a warm day.
Use absorbent towels for stubborn moisture
<ol> <li>Wipe seams, corners, and molded edges.</li> </ol>
<ol> <li>Dry under the lid and around hinges.</li> </ol>
<ol> <li>Toss the towels straight into a sealed bag after use.</li> </ol>
This helps with heavier commercial bins and older cans that seem to stay damp forever.
Step 6: get rid of the smell so flies don’t come back
<ol> <li>Deal with odor before reusing the can.</li> </ol>
<ol> <li>Add something absorbent at the bottom.</li> </ol>
<ol> <li>Keep future drips from soaking in.</li> </ol>
A clean-looking bin can still smell bad. If it does, flies notice before you do.
Try baking soda or deodorizing granules
<ol> <li>Sprinkle a layer across the dry bottom.</li> </ol>
<ol> <li>Leave it there between uses.</li> </ol>
<ol> <li>Refresh it after pickup day or after any leak.</li> </ol>
This is an easy weekly habit, and it helps absorb leftover odor without much effort.
Add a liner or absorbent layer at the bottom
<ol> <li>Place cardboard, newspaper, or a fitted liner at the base.</li> </ol>
<ol> <li>Replace it when it gets damp.</li> </ol>
<ol> <li>Keep it thin so the can still drains and dries properly.</li> </ol>
The trick is preventing that sour liquid from building up again. Catch the drips early and the whole can stays easier to manage.
Step 7: keep maggots out of your trash can from now on
<ol> <li>Reduce exposed food waste.</li> </ol>
<ol> <li>Keep the lid shut.</li> </ol>
<ol> <li>Store the can in a cooler spot when possible.</li> </ol>
Prevention is not complicated. A few small habits do most of the work.
Bag food waste tightly
<ol> <li>Tie kitchen trash securely.</li> </ol>
<ol> <li>Use smaller bags for meat scraps or messy leftovers.</li> </ol>
<ol> <li>Avoid tossing loose food straight into the outdoor bin.</li> </ol>
Loose scraps are basically an invitation for flies to move in.
Take trash out on the right schedule
<ol> <li>Move food waste out sooner during hot weather.</li> </ol>
<ol> <li>Do not let full bags sit for days if pickup is still far off.</li> </ol>
<ol> <li>Rinse the can after pickup if something leaked.</li> </ol>
A can baking in the sun by Friday afternoon is a completely different situation than one emptied on Wednesday morning.
Keep the lid fully closed
<ol> <li>Check for overfilled bags blocking the lid.</li> </ol>
<ol> <li>Fix bent hinges or cracked edges if possible.</li> </ol>
<ol> <li>Make sure the lid drops shut all the way.</li> </ol>
Even a small gap gives flies access.
Store the can in a better spot
<ol> <li>Choose shade over direct sun.</li> </ol>
<ol> <li>Keep some airflow around the can.</li> </ol>
<ol> <li>Store it a little farther from doors, patios, or service entrances.</li> </ol>
A cooler location slows odor buildup, which helps more than most people expect.
Step 8: know when to call for trash can or [dumpster](/commercial/dumpster-cleaning/) cleaning
<ol> <li>Notice when the problem keeps repeating.</li> </ol>
<ol> <li>Compare the mess to the time it will take to fix.</li> </ol>
<ol> <li>Bring in help when the bin is beyond a basic washout.</li> </ol>
For a household can, DIY usually works. For a greasy dumpster or a row of commercial bins, not always.
Signs the problem is bigger than one cleanup
If maggots keep coming back after a thorough cleaning, the issue is usually deeper residue, heavy grease, trapped liquid, or nearby waste buildup. The same goes for bins that smell foul even after scrubbing or dumpsters with grime caked into corners you cannot reach well.
That is the point where another round of dish soap stops being the best use of your time.
What a professional cleaning service can handle
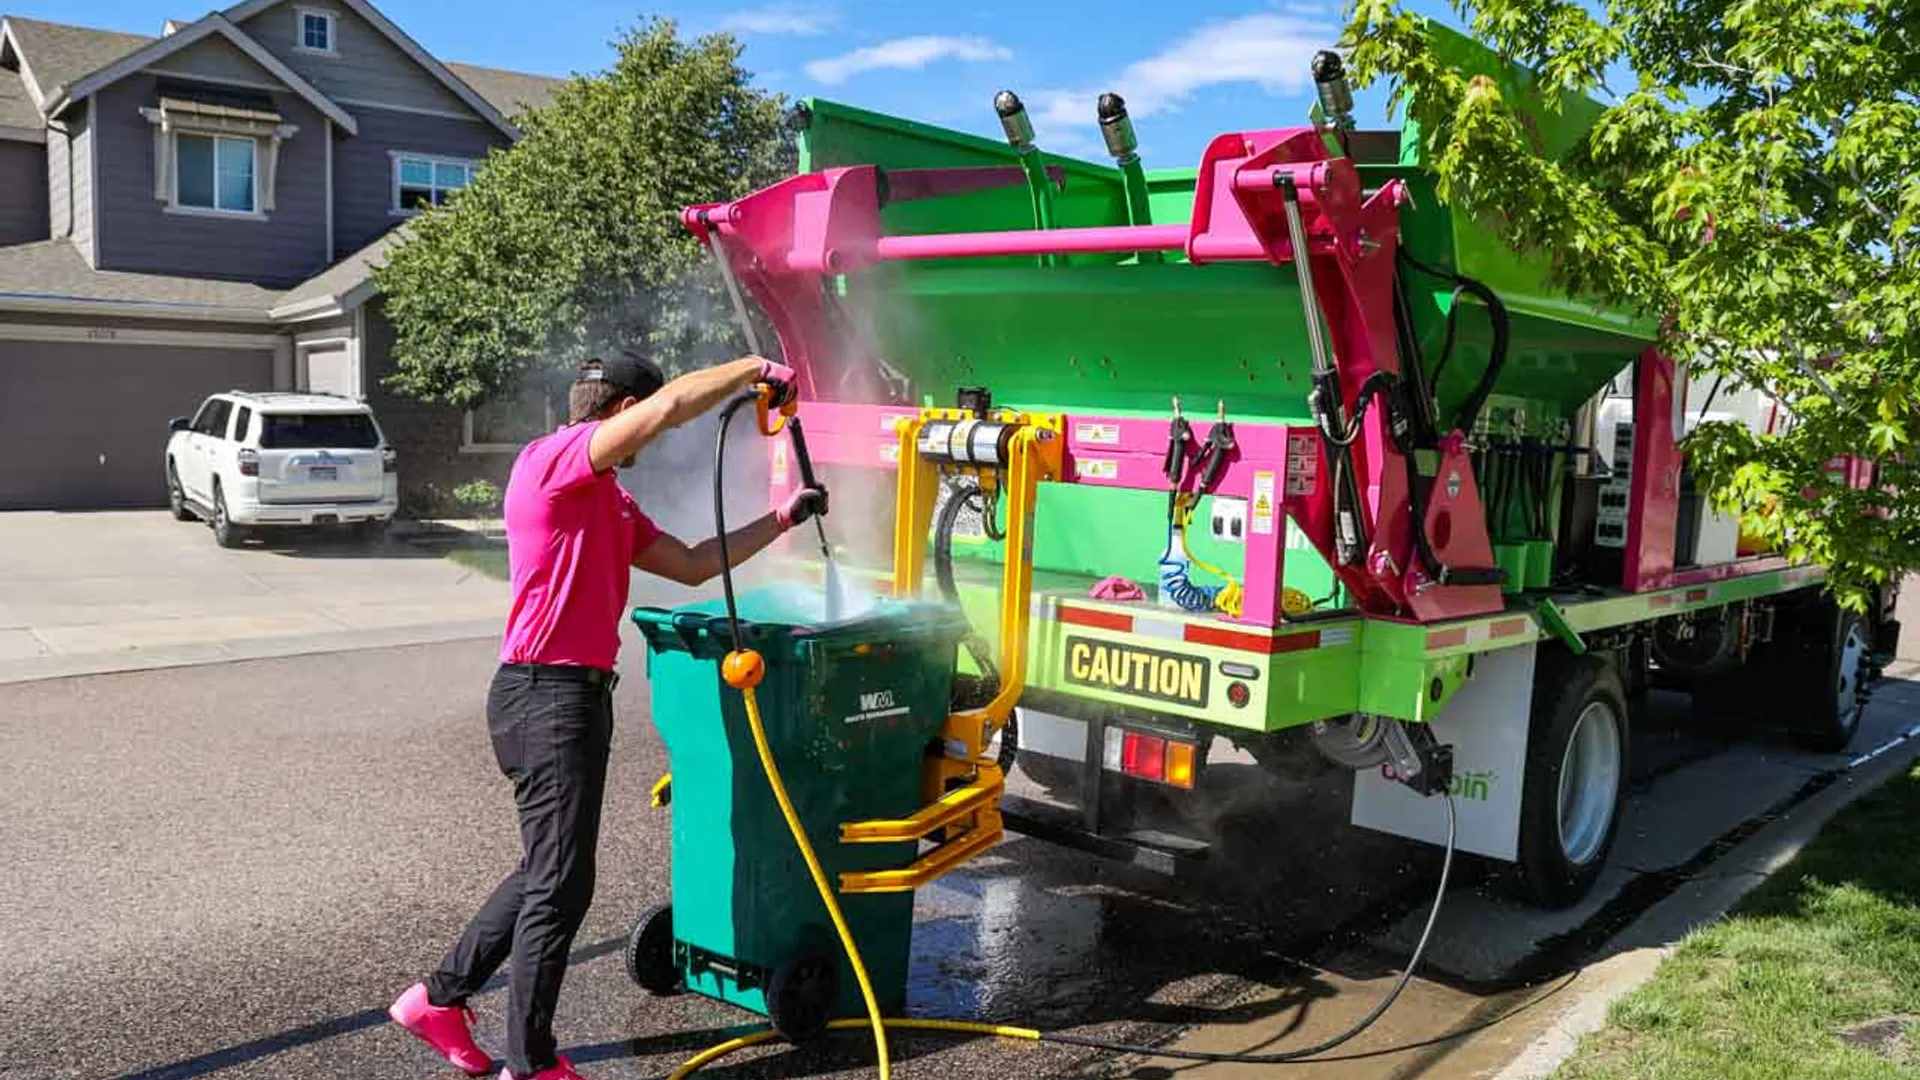
A professional service can wash bins or dumpsters with high-heat equipment, remove buildup more thoroughly, manage wastewater properly, and treat lingering odor. For businesses, recurring service can keep back areas cleaner with less disruption. If the mess has spread into the surrounding pad or enclosure, pressure washing the service area can help too, though the bin itself should stay the main focus.
Troubleshooting: common problems and fast fixes
Sometimes the first cleanup improves the situation but does not solve it completely. That usually means something got missed.
The maggots came back after one day
Check for residue under the lid, around the rim, or in bottom seams. Also look for a fresh food bag leaking inside or loose trash nearby. Do a quick reset: empty the can again, hit hidden spots with hot water and soap, then make sure the lid closes tightly.
The trash can still smells bad after cleaning
Lingering odor usually means trapped grime, not bad luck. Scrub the lid underside again, rinse more thoroughly, and dry the can fully before adding baking soda or deodorizer. If liquid has seeped into cracks or around wheels, clean those spots too.
The can is clean, but flies keep circling it
Look at the area around the can. Check the ground, nearby bags, fence line, and any drips on the outside walls. Sometimes the bin is clean, but the space around it is still telling flies dinner is nearby.
The infestation is in a dumpster, not a household bin
Dumpsters are harder because the waste is heavier, the buildup is deeper, and shared use usually means fresh contamination keeps getting added. Seal what you can, keep lids shut, and arrange a proper cleaning sooner rather than later. For restaurants, apartments, and commercial sites, fast service is often the cleaner answer.
What to expect after cleanup and what to do next
Once the can is fully cleaned and dried, you should notice less odor, fewer flies, and no visible maggots. Keep it that way with one simple habit: give the bin a quick rinse after pickup day, especially if anything leaked. That small step pays back fast.
Disclaimer:
This article is for general informational purposes only. It is not professional advice, a quote, or a service agreement. Conditions at your home or property may differ; contact a qualified professional for an on-site evaluation before making repair, safety, or spending decisions.