
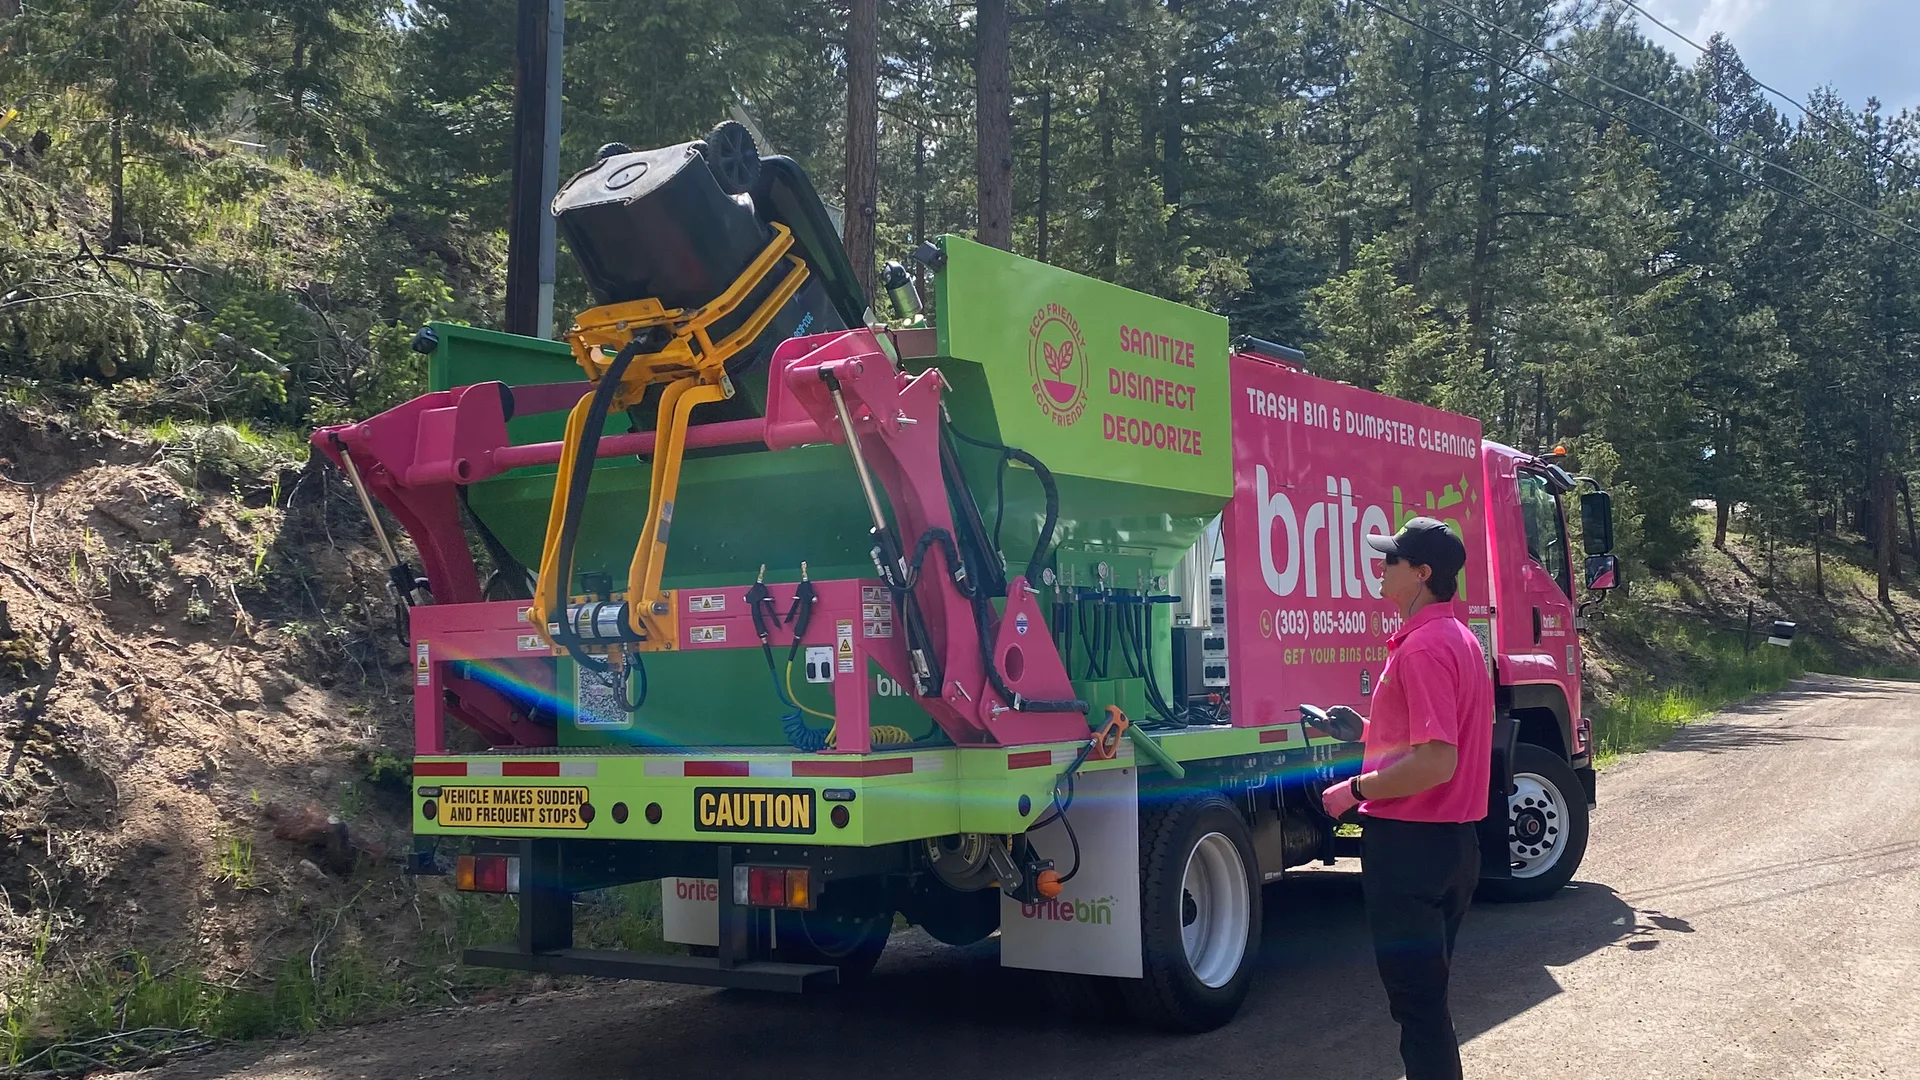

To remove trash can odor, you need to clean the can itself, not just take out the bag. That bad smell that hits you the second you open the garage door or walk past the side yard usually comes from residue, moisture, and bacteria stuck inside the bin, and once it starts, it spreads fast. The good news is that you can stop it before your whole space starts smelling like last Tuesday's leftovers.
Why trash can odor spreads so fast
Trash odor has a way of taking over a space quicker than seems possible. One day your bin is fine, the next day the smell has drifted into the garage, settled near the back door, and somehow made the whole area feel dirty.
Here's the thing: odor does not stay politely inside the can. Warm air carries it. Moisture feeds it. Airflow moves it around. If your trash sits in a hot garage, near a sunny fence, or in an enclosed dumpster area, the smell builds and then escapes every time the lid shifts even a little.
Food drips are usually where it starts. A small leak from a takeout container, a split bag, or the liquid from spoiled produce can soak into the bottom of the can and keep smelling long after trash pickup day. Add heat and a closed lid, and you have a little incubator for bacteria and mildew.
That is why the goal is not just to make the smell less noticeable. The real fix is to remove trash can odor at the source and keep it from spreading into the spaces around it.
What actually causes trash can odor
Trash can odor is usually caused by buildup left behind on the can walls, lid, bottom, or seams. In plain English, the smell often comes from old gunk stuck to the can, not from the fresh bag you just put in.
Food scraps are the obvious culprit, but sticky leaks are just as bad. Grease from takeout, juice from meat packaging, coffee residue, spilled soup, pet waste, and damp paper can all leave behind a thin film. Once that film sits for a while, bacteria start feeding on it. That is what creates the strongest odor.
Mildew adds another layer. If standing liquid collects in the bottom and never fully dries, the smell can turn sour, swampy, or musty. That is why a can can smell terrible even when it looks mostly empty.
The biggest odor traps inside a trash can
The worst spots are usually the places you do not clean by accident. The underside of the lid holds splatter and condensation. Hinges catch sticky residue. Wheels roll through dirty runoff and bring it back onto the bin. Bottom corners collect sludge, especially in outdoor carts with molded grooves.
The rim is another big one. Trash bags rub against it every time you tie or remove them, leaving behind a ring of grime that keeps producing odor. If your bin has textured plastic, small ridges can hold on to residue for weeks.
That is why a can can still stink right after pickup. The trash is gone, but the smell source is still sitting in the container.
Why heat makes everything worse
Heat speeds up odor in a hurry. A bin in direct sun, a closed garage in July, or a dumpster tucked into a warm concrete enclosure can turn a minor smell into a major one by afternoon.
Think of it like leftovers. Food sitting in a fridge stays stable a lot longer than food left in a hot car. Trash works the same way. Warmth speeds up breakdown, intensifies fumes, and helps bacteria multiply faster. Even a small amount of residue starts acting much bigger once the can heats up.
That is why outdoor bins can seem manageable in the morning and awful by dinner.
How to remove trash can odor step by step
If your trash can already smells bad, skip the fragrance sprays and go straight to cleaning. The process is simple, and the order matters.
Empty the can and scrape out loose debris
Start with a completely empty can. If pickup just happened, that is the easiest moment to clean because you are not working around fresh bags.
Check the bottom for pooled liquid, stuck food, or soaked paper. Use paper towels to soak up dirty water. If something is glued to the bottom, scrape it loose with a plastic scraper or even a stiff piece of cardboard. For outdoor carts, a hose can help flush out loose debris before you start scrubbing.
Take a second to inspect the inside walls and the underside of the lid. A can that looks empty from above can still have a greasy film all over it.
Wash with soap and hot water
Once the loose mess is out, wash the can with hot water and dish soap. Soap matters because odor clings to grease, and plain water will not cut through that film very well.
Use a long-handled brush, scrub brush, or deck brush to reach the bottom and corners. Work around the lid, under the rim, and into grooves near the wheels. For smaller kitchen bins, a bathtub, utility sink, or driveway hose-down works fine. For larger outdoor carts, washing on a sloped driveway or a spot where runoff can be handled safely is usually easiest.
This is the stage that actually removes the residue holding onto odor. If you rush it, the smell comes back.
Disinfect the inside to kill odor-causing bacteria
After washing, disinfect the inside if the smell has been strong, the can held food waste or pet waste, or there is visible slime. A disinfecting cleaner can work well here. A diluted bleach solution can also work if used carefully and according to the product label.
Keep the area ventilated, wear gloves if needed, and never mix bleach with vinegar, ammonia, or any other cleaner. That part matters. A quick wipe-down with a disinfectant is useful for mild odor, but a can with real buildup usually needs the disinfectant to sit briefly on the surface before rinsing.
The point is not to make the can smell like cleaner. The point is to reduce the bacteria causing the odor in the first place.
Rinse and dry completely
Rinse the can thoroughly so cleaner residue does not sit inside and attract more grime later. Then dry it completely.
This step gets skipped all the time, and it is one of the biggest reasons odor returns so fast. If moisture stays trapped in the bottom or under the lid, the smell cycle starts again almost immediately, especially in humid weather. Turn the can upside down in the sun if possible, or leave the lid open until every surface is dry.
A clean wet can is still halfway to a smelly can.
The best homemade deodorizers for lingering smells
Once the can is actually clean, deodorizers can help control any leftover smell and keep new odor from building too quickly. The trick is knowing what each one is good for.
Baking soda for everyday odor control
Baking soda is the best simple option for everyday odor control. It absorbs odor rather than covering it up, which makes it much more useful than a random scented product.
Sprinkle a layer in the bottom of a dry can before adding a new bag. You can also add a little inside the bag if you know the trash will include food scraps. Replace it whenever it gets damp, clumpy, or after each cleaning if your bin tends to smell quickly.
For most homes, this is the easiest habit to keep.
Vinegar for sour or sticky smells
Vinegar works best when the odor has a sour edge or when sticky residue is part of the problem. It helps cut through film and can neutralize some lingering smells after the main wash.
Use it as part of cleaning, not as a perfume. Wipe the inside with vinegar or spray it onto problem areas after washing, then let it dry. The vinegar smell can seem strong at first, but it fades as it dries.
The catch is simple: vinegar helps, but it does not replace soap and scrubbing if grease is still stuck to the can.
Citrus peels for a fresher smell
Citrus peels are more of a freshening trick than a true odor remover. Lemon or orange peels can make a clean can smell better for a short time, especially right after washing and drying.
Only use them in a clean, mostly dry bin. Tossing citrus peels into a dirty, damp can just adds more organic material to break down. In other words, peels work like opening a window after cleaning a room, not like cleaning the room itself.
Coffee grounds, dryer sheets, and other popular tricks
Coffee grounds can help mask odor for a bit, and some people like the smell, but used grounds are damp and can add moisture if left too long. Dry grounds are better than wet ones, though still more temporary than baking soda.
Dryer sheets mostly add fragrance. They can make a bin smell a little cleaner for a day or two, but they do not solve buildup or bacteria. The same goes for scented trash bags. Handy, yes. A real fix, no.
If you want something that truly helps, stick with absorbent, dry odor control after cleaning. If you want something cosmetic, those other tricks are fine for a short stretch.
When a quick fix is enough and when deep cleaning is the trick
Not every smelly bin needs a full scrub right this second. Sometimes a fast refresh buys you time. Sometimes it just delays the obvious.
Fast odor fixes before pickup day
If the bag is still in the can and pickup day is tomorrow, go for quick control. Tie bags tightly. Wipe the underside of the lid. Add baking soda to the bottom or inside the fresh bag. If a small leak happened, soak it up right away with paper towels before it spreads.
For indoor bins, taking messy trash outside sooner can make a huge difference. For outdoor carts, closing bags properly and keeping the lid fully shut helps keep odor from drifting.
These are good stopgaps. Sometimes that is all you need for a day or two.
Signs your trash can needs a full wash
If the smell stays after the trash is gone, the can needs cleaning. Same story if you see visible grime, sticky walls, slime in the bottom, flies, gnats, or stains around the rim.
Another clear sign is spread. If the odor is reaching your garage, alley, patio, loading area, or nearby entrance, the problem is bigger than the current bag. By that point, the can itself is the source.
A quick fix helps with active trash. A deep clean fixes the container.
How to keep trash can odor from coming back
Once the smell is gone, a few simple habits keep it from returning. Nothing fancy, just consistent.
Bag your trash the right way
Loose food is one of the fastest ways to end up with a terrible-smelling can. Wet scraps, leaking takeout containers, and torn bags create repeat problems because the mess escapes before the trash ever reaches the curb.
Seal messy items before tossing them. Double-bag especially wet waste. Tie bags tightly so juices do not seep out during the week. If a bag has a small tear, swap it before it goes into the bin.
That extra ten seconds beats scrubbing sludge later.
Add an odor barrier at the bottom
A barrier at the bottom catches drips before they soak into the can. That can be a layer of newspaper, a liner, an absorbent pad, or a dusting of baking soda under the bag.
The point is simple: keep leaks from making direct contact with the plastic. Once liquid dries into the bottom grooves, odor sticks around much longer.
For outdoor carts that deal with heavier trash, changing that barrier regularly matters more than adding it once and forgetting it.
Clean on a schedule that matches how you use the can
A kitchen trash bin used for food waste needs cleaning more often than a bathroom bin. An outdoor cart used for weekly household trash needs a different schedule than a commercial dumpster behind a restaurant.
As a simple rule, indoor kitchen bins do well with a quick wipe weekly and a deeper wash every few weeks. Outdoor residential carts usually need a real cleaning at least monthly in warm weather, more often if leaks happen. Commercial containers and shared bin areas often need routine scheduled cleaning because the volume, heat, and traffic make buildup happen faster.
If your can only gets cleaned once it already smells awful, the schedule is too loose.
The best way to handle food waste, pet waste, and other strong smells
Some trash creates odor much faster than regular household waste. It helps to treat those categories differently.
Food scraps and spoiled leftovers
Food waste is the biggest smell-maker for most homes. Leftovers, meat packaging, produce scraps, and half-finished takeout all leak and break down quickly.
Wrap food scraps well before tossing them. Rinse containers if they still have sauce, dressing, or dairy clinging to them. If something is especially smelly, like seafood scraps or spoiled leftovers, sealing it and placing it in the freezer until pickup day works surprisingly well. It sounds a little odd at first, but it stops odor cold and keeps the outdoor cart from turning nasty overnight.
That trick is especially helpful during hot weather.
Diapers, pet waste, and other hard-to-ignore trash
Diapers and pet waste are in a category of their own. A little bit of odor can become a lot very quickly, especially in enclosed spaces.
Use dedicated bags for these items and tie them tightly before they go into the main bin. For pet waste, avoid letting multiple loose bags sit at the bottom of a warm outdoor cart for days. For diapers, sealing them in individual disposal bags before tossing helps a lot.
Faster disposal matters here. So does keeping the can clean between uses.
Yard waste and damp materials
Wet leaves, grass clippings, and other damp yard materials can mildew or start fermenting if they sit packed in a bin. That creates a heavy, sour smell that lingers even after the material is gone.
Let very wet yard waste drain a bit before bagging if possible. Keep the bin as dry as you can, and do not let damp material sit compressed at the bottom for long stretches. If the can starts smelling earthy and rotten at the same time, trapped moisture is usually behind it.
How to remove odor from outdoor bins and dumpsters
Larger containers need the same basic approach as smaller bins, but with more buildup, more runoff, and more places for smell to hide.
Residential curbside carts
For curbside carts, start after pickup so the bin is empty. Hose out loose debris, scrub with soap and hot water if available, disinfect if needed, then rinse and dry thoroughly. Pay attention to the lid underside, wheel wells, bottom corners, and the lip around the top opening.
If you can, keep the cart out of direct sun for part of the day. Even moving it from a blazing concrete strip to a shaded side fence can help. Heat turns mild odor into strong odor fast.
A clean cart in shade will usually smell better than a half-clean cart baking in the sun.
Commercial dumpsters and shared bin areas
Dumpsters create bigger odor problems because the waste volume is higher and the leaks are often worse. Grease, bulk waste, broken bags, and pooled liquid can turn the inside into a constant smell source. Then that odor spreads to back doors, loading zones, employee areas, and customer-facing spaces.
The inside of the dumpster needs regular cleaning, but the surrounding pad matters too. If runoff, grease, or spilled waste has soaked into the concrete around the container, the whole area can keep smelling even after the dumpster is emptied. Pressure washing nearby surfaces can help remove those outside odor sources, especially around commercial enclosures and shared trash areas.
If odor is affecting how a property feels when someone walks up to it, the problem is no longer just cosmetic.
Common mistakes that make trash smell worse
A few common habits make odor harder to control, even when you are trying to fix it.
Using fragrance without cleaning first
Sprays, scented bags, and deodorizing beads can smell nice for a little while, but if residue is still stuck inside the can, you are just layering scent over the problem.
That usually creates a weird mix of perfume and rot, which is somehow worse. Clean first, then deodorize.
Leaving liquid at the bottom
Even a small pool of dirty water can restart odor within a day or two. A can does not need visible sludge to smell bad. A thin layer of murky liquid hidden in the bottom groove is enough.
Always soak it up, rinse it out, and dry the area fully. Odor loves leftover moisture.
Closing the lid on a wet can
This is the catch. You clean the can, rinse it, shut the lid, and feel done. Then a day later it smells sour again.
Moisture trapped inside a closed bin creates the perfect setup for mildew and bacteria to come right back. Let the can air-dry completely before closing it up and adding a fresh bag.
When to call for professional trash can or dumpster cleaning
Sometimes DIY cleaning is enough. Sometimes it turns into a messy chore that never quite solves the problem.
Good reasons to bring in help
If odor keeps returning even after thorough cleaning, professional service starts making sense. The same goes for heavy buildup, pest activity, shared bins at multi-unit properties, large commercial dumpsters, or any situation where runoff and sanitation are a concern.
A deeply neglected can is one thing. A dumpster area behind a business is another. Once smell is affecting employees, tenants, customers, or neighboring spaces, faster and more thorough cleaning matters.
What professional cleaning can solve faster
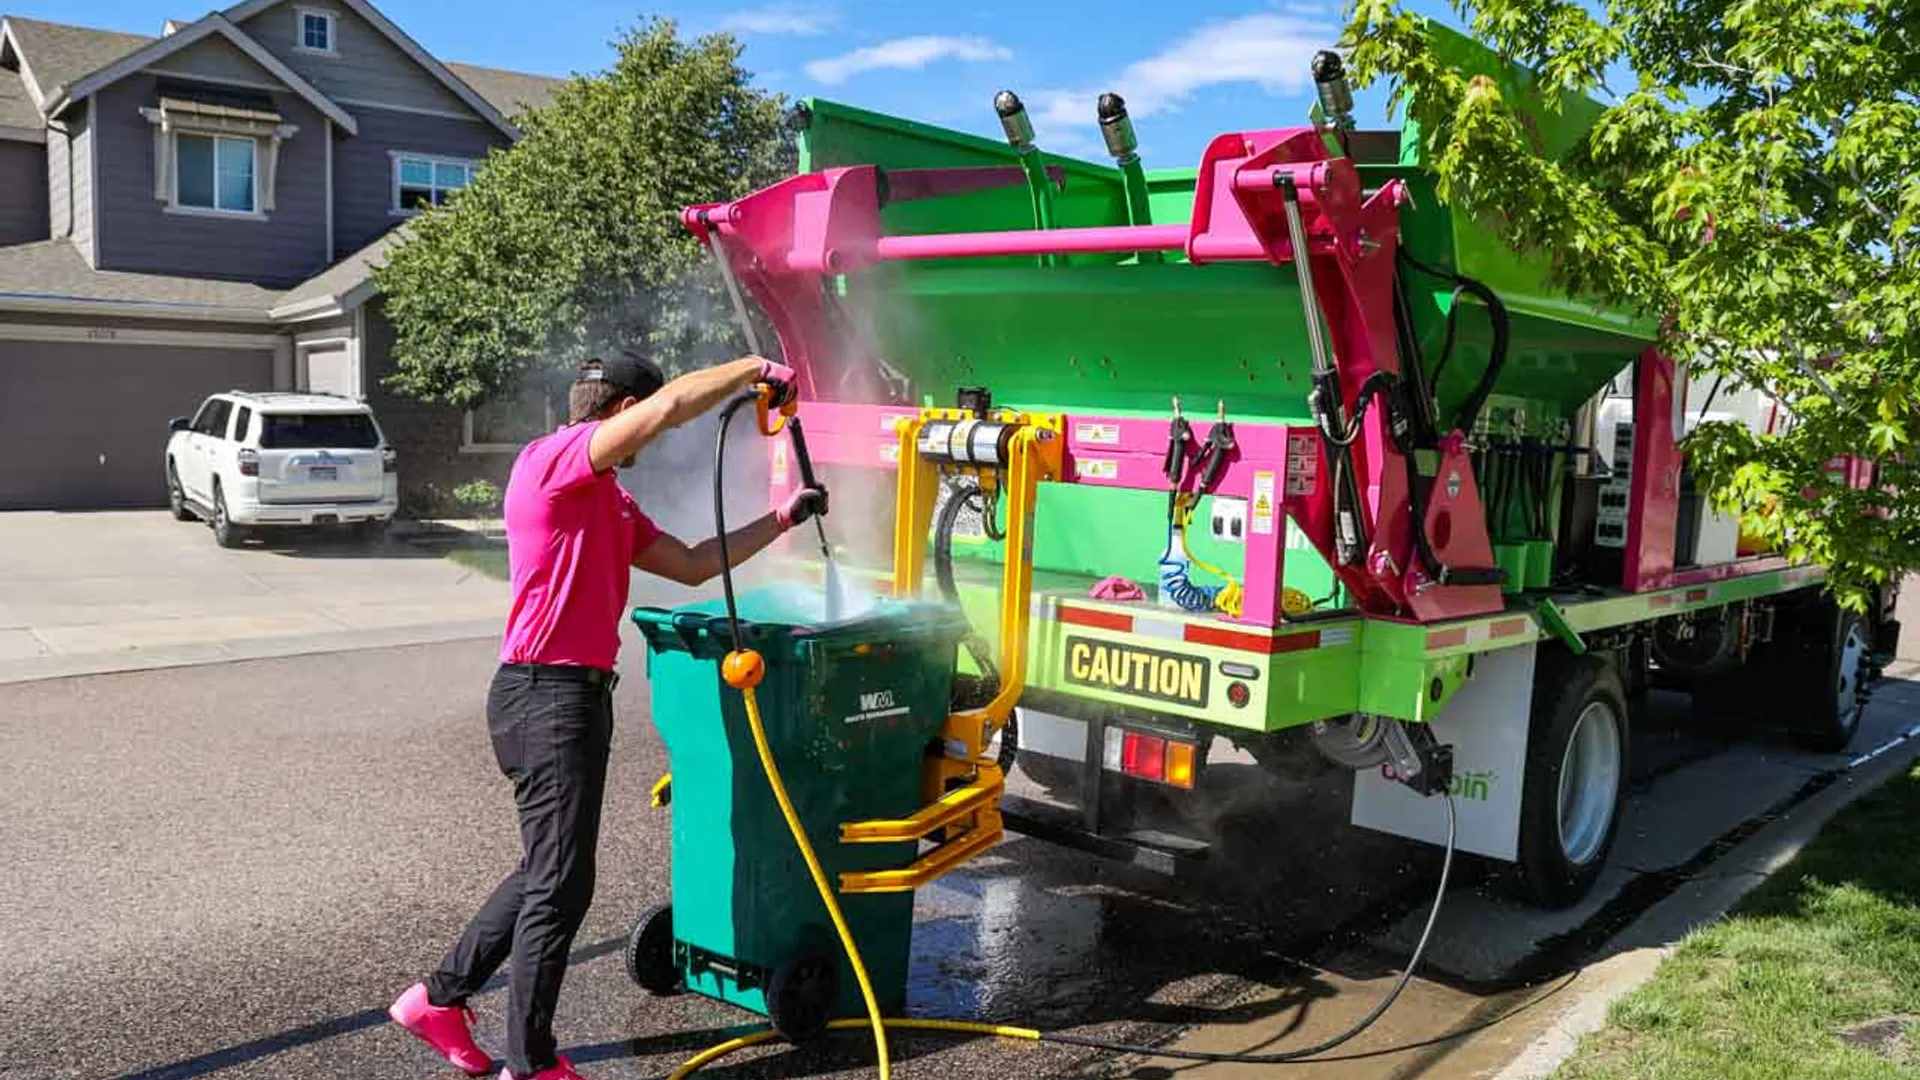
Professional trash can or dumpster cleaning usually reaches places that are easy to miss with a garden hose and household brush. Hotter water helps break down grease. Stronger sanitizing helps reduce odor-causing bacteria. Better equipment reaches hinges, corners, lids, and wheel areas without leaving the mess behind on your property.
It is also a cleaner solution for bigger jobs. If the smell problem is tied to buildup you do not want washing across a driveway, alley, or loading pad, getting it handled properly can save time and frustration.
Quick answers about how to remove trash can odor
What absorbs trash can odor best? The best odor absorber is a clean, dry can paired with baking soda at the bottom. Cleaning comes first. After that, baking soda is the simplest everyday fix for absorbing lingering smell.
How often should you clean a trash can? Indoor kitchen bins do best with regular wipe-downs and a deeper wash every few weeks. Outdoor carts usually need cleaning about once a month in warm weather, or any time a bag leaks. Heavier-use commercial containers need more frequent scheduled cleaning.
Why does your trash can still smell after you empty it? Because the smell is usually coming from residue, trapped liquid, and bacteria stuck to the can walls, lid, rim, or bottom. Emptying the bag removes the trash, not the buildup.
What is the fastest thing you can try today? Rinse the can, scrub the inside with soap, dry it completely, and add baking soda to the bottom before the next bag goes in. If you try just one thing, make it that.
Disclaimer:
This article is for general informational purposes only. It is not professional advice, a quote, or a service agreement. Conditions at your home or property may differ; contact a qualified professional for an on-site evaluation before making repair, safety, or spending decisions.