
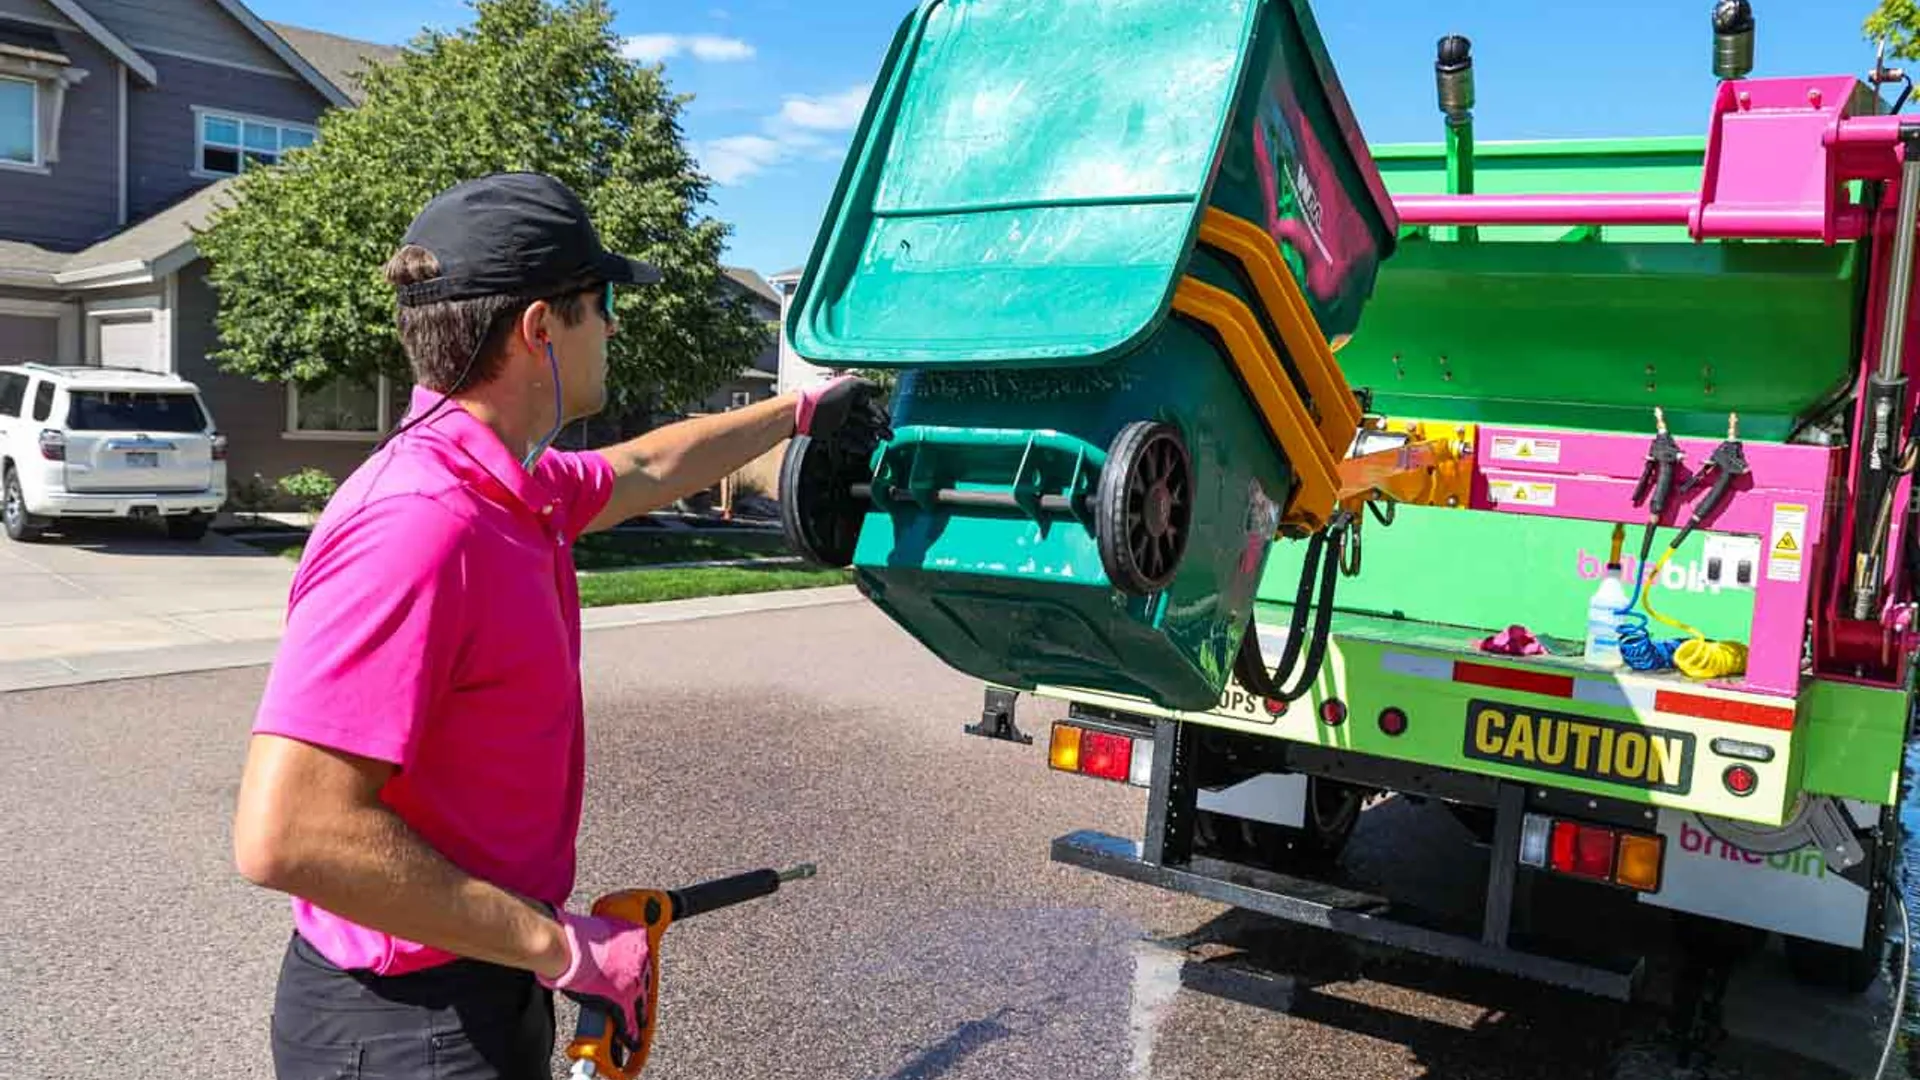

If you pressure wash trash cans the wrong way, the job turns into a grimy splash zone in about 30 seconds. Done the right way, you can get rid of stuck-on sludge, cut the smell, and keep dirty water off your shoes and driveway.
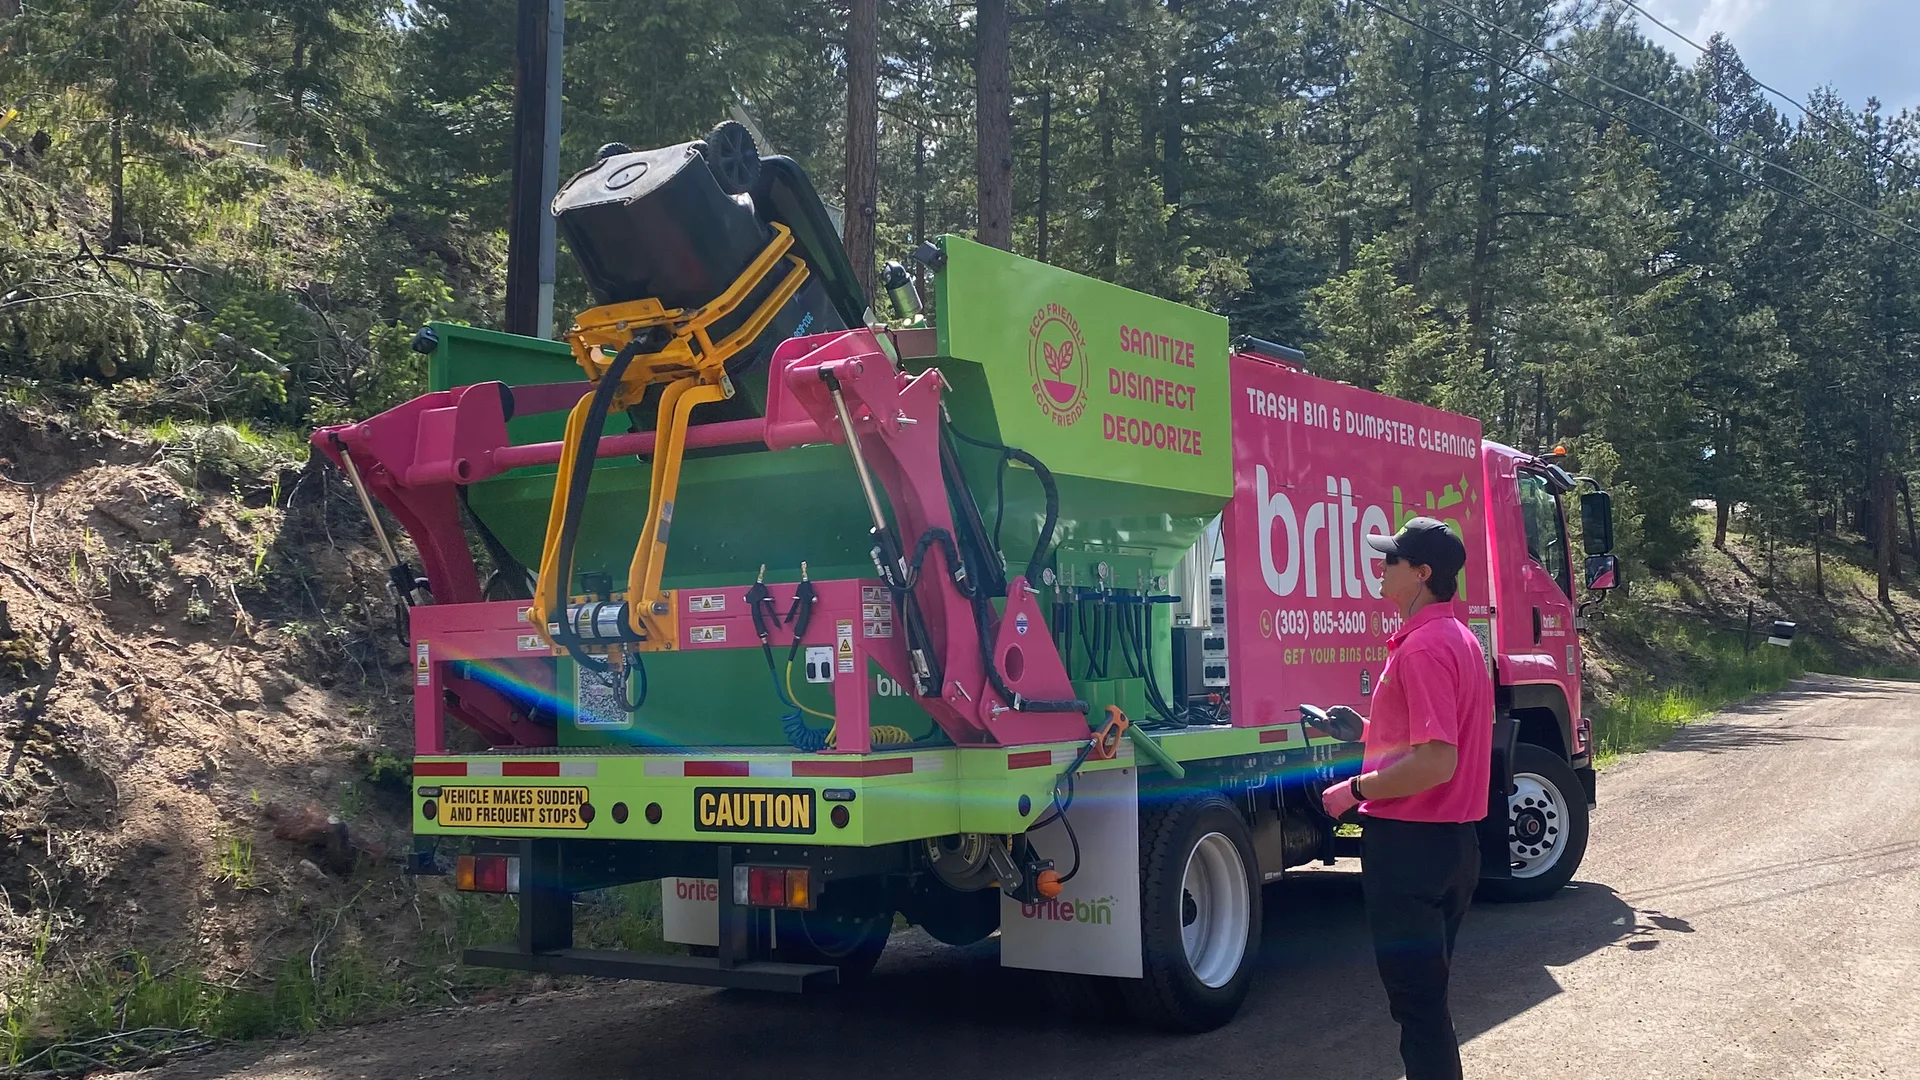
What you’ll need before you pressure wash trash cans
A little setup makes this job faster and way less gross. The trick is controlling the mess before the water starts flying.
Pressure washer, nozzle, and water source
Use a pressure washer with a hose connection and a wide fan-tip nozzle, not a pinpoint tip. A wider spray cleans plenty well and gives you better control inside the bin. Too much pressure can scar plastic, peel labels, or bounce filthy water straight back at you.
Cleaning supplies and protective gear
Keep it simple: dish soap or degreaser, a long-handled brush, disinfectant, gloves, eye protection, and old clothes. Degreaser just means a cleaner that breaks up oily residue. If your can has that slick, sticky film near the bottom, that is the stuff plain water usually leaves behind.
Pick the right cleaning spot
Choose a spot with drainage and room to move, like the edge of a driveway near a hose bib. Avoid cleaning right next to cars, garage doors, or entryways. Direct sun is also a pain because cleaner dries too fast, and then you end up chasing streaks instead of washing.
Step 1: empty the can and knock out the loose debris
Start with the ugly part first. It saves time almost immediately.
Remove trash, liners, and heavy buildup
<ol> <li>Empty the can completely.</li> </ol>
<ol> <li>Pull out the liner if one is inside.</li> </ol>
<ol> <li>Check the bottom, corners, lid hinge area, and side seams.</li> </ol>
<ol> <li>Remove anything stuck down, matted, or trapped.</li> </ol>
Five minutes here can save you from blasting soggy garbage confetti all over the driveway.
Give the inside a quick pre-rinse
<ol> <li>Set the washer to a gentle rinse or use the hose first.</li> </ol>
<ol> <li>Wet the inside walls and bottom.</li> </ol>
<ol> <li>Let loose residue run out.</li> </ol>
Keep this controlled. You are softening slime and dried-on grime, not doing the full wash yet. A light rinse loosens the mess so soap can actually reach it.
Step 2: pre-treat stains, grease, and odor spots
Plain water is great for loose dirt. It is not great for grease, sticky residue, or that mystery stain in the bottom corner.
Apply soap or degreaser to the problem areas
<ol> <li>Spray cleaner on the inside walls.</li> </ol>
<ol> <li>Coat the bottom seam and corners.</li> </ol>
<ol> <li>Hit the underside of the lid.</li> </ol>
<ol> <li>Spray the handles and grip areas.</li> </ol>
Pay extra attention to the bottom and lid lip. Those spots usually hold the worst smell.
Let the cleaner sit for a few minutes
<ol> <li>Leave the cleaner on for a short dwell time.</li> </ol>
<ol> <li>Watch that it stays wet.</li> </ol>
<ol> <li>Rinse or scrub before it dries.</li> </ol>
Here’s the trick: waiting matters. Cleaner needs a few minutes to loosen sticky buildup, but if it dries in place, you just created another layer to remove.
Scrub the spots that always get missed
<ol> <li>Brush the wheel wells and molded ridges.</li> </ol>
<ol> <li>Scrub around the lid rim and hinges.</li> </ol>
<ol> <li>Work the corners and bottom seam.</li> </ol>
This step keeps the pressure washer from doing all the heavy lifting. It also cuts down on the amount of grime that gets launched back out at you.
Step 3: pressure wash the inside without spraying grime everywhere
This is where technique matters most. You do not need brute force. You need control.
Start at the top and work down
<ol> <li>Open the lid fully.</li> </ol>
<ol> <li>Rinse the upper walls first.</li> </ol>
<ol> <li>Move down toward the bottom in steady sections.</li> </ol>
<ol> <li>Flush the dirty water out last.</li> </ol>
Dirty water should move one direction, down and out. If you start at the bottom, you just keep re-coating the walls you already cleaned.
Use a wide spray pattern and steady passes
<ol> <li>Keep the fan spray wide.</li> </ol>
<ol> <li>Move the wand in smooth, even strokes.</li> </ol>
<ol> <li>Overlap each pass slightly.</li> </ol>
Short, aggressive bursts make more mess than progress. A fan spray is more like rinsing off a muddy mat than detonating the inside of the can.
Hold the wand at an angle to cut splashback
<ol> <li>Aim slightly downward and toward the drain-out path.</li> </ol>
<ol> <li>Avoid blasting straight into the bottom.</li> </ol>
<ol> <li>Step back a little if rebound starts.</li> </ol>
That angle matters. It helps move debris out with less of that grimy mist that loves to hit your shoes by the garage door.
Step 4: clean the outside, lid, wheels, and handle areas
The outside gets dirty faster than most people notice. Leaks, hands, rain, and street grime all collect there.
Wash the lid underside and lip
<ol> <li>Spray the underside of the lid.</li> </ol>
<ol> <li>Rinse the seam and rim carefully.</li> </ol>
<ol> <li>Let dirty water run outward, not back inside.</li> </ol>
The underside of the lid often smells worse than the body of the can. If you skip it, the bin still smells dirty even after the wash.
Hit the handles and touch points
<ol> <li>Spray the front handle and side grips.</li> </ol>
<ol> <li>Scrub if residue feels slick.</li> </ol>
<ol> <li>Rinse thoroughly.</li> </ol>
These are the spots you grab every week. Clean handles make the whole can feel cleaner, fast.
Rinse the wheels and bottom edge
<ol> <li>Spray around the wheels.</li> </ol>
<ol> <li>Rinse the bottom edge and base.</li> </ol>
<ol> <li>Flush away runoff and grit.</li> </ol>
This small step makes a visible difference, especially for commercial carts or bins sitting near entry points.
Step 5: disinfect, deodorize, and dry the can properly
A clean-looking can can still smell bad by tomorrow afternoon. Finishing matters.
Apply a disinfectant after rinsing
<ol> <li>Rinse away all visible dirt first.</li> </ol>
<ol> <li>Spray disinfectant inside the can and under the lid.</li> </ol>
<ol> <li>Focus on seams, handles, and the bottom.</li> </ol>
Use disinfectant after the grime is gone, not before. Otherwise you are spraying it onto dirt instead of the actual surface.
Deodorize with a simple odor-control trick
<ol> <li>Let the can dry most of the way.</li> </ol>
<ol> <li>Sprinkle a little baking soda in the bottom, or use a mild deodorizing spray.</li> </ol>
<ol> <li>Replace it after future washes as needed.</li> </ol>
It is a small habit, but it pays off the next hot afternoon when the lid opens and the smell does not hit like a wall.
Let the can air-dry with the lid open
<ol> <li>Leave the lid open in a ventilated spot.</li> </ol>
<ol> <li>Wait until the inside is dry.</li> </ol>
<ol> <li>Add a fresh liner only after that.</li> </ol>
The catch is moisture. Trap dampness inside, and the odor comes right back.
How often you should pressure wash trash cans
Most household trash cans do well with a deep clean about once a month, or sooner after leaks, food waste, or missed pickup days.
Home trash cans vs. commercial bins and dumpsters
Home cans usually need less frequent cleaning because use is lighter. Commercial bins and dumpsters deal with more traffic, more residue, and stronger odors, so the same method applies, just on a larger and more frequent schedule.
Seasonal timing and odor spikes
Warm weather makes everything worse. July heat, holiday cookouts, and missed pickup weeks are the usual trouble spots. If smells jump fast during summer, a quick rinse between deeper cleans helps.
Common mistakes that make the job messier
Most bad trash can cleanups come from rushing. Not from the can.
Using too much pressure on plastic cans
High pressure is not better here. It can gouge the surface, strip decals, and fire dirty water right back at your legs.
Skipping the pre-rinse or cleaner dwell time
If you skip the softening step, you end up spraying longer and scrubbing harder. Waiting a few minutes usually saves more time than it costs.
Cleaning in the wrong spot
Poor drainage, overspray near parked cars, and runoff across a walkway all create extra cleanup. Pick the spot first, then start washing.
Troubleshooting: if the can still smells or looks dirty
Some bins need a second pass. That is normal, especially after old leaks or heavy commercial use.
If odors are still hanging on
Check the lid seam, hinge area, and bottom corners again. Disinfect once more, let the can dry fully, and use a stronger deodorizing step if needed.
If grease or stains won’t lift
Apply degreaser again, scrub the stain, and let the cleaner sit a little longer before rinsing. Sticky buildup usually needs chemistry and patience, not more pressure.
If runoff gets out of hand
Reset the angle, back off the pressure, or move the can to a better draining spot. Less force and better aim usually fix the mess fast.
What your trash cans should look like when you’re done
When you finish, the can should look rinsed clear, not slimy or streaked. The inside should smell noticeably better, the handles should feel clean, and the bottom should dry without that greasy film returning.
Next step: try one can this week and build a simple cleaning routine
Start with one can, not every bin on the property. Once the process feels easy, use the same method on recycling carts, commercial bins, or dumpsters that need a reset.
Disclaimer:
This article is for general informational purposes only. It is not professional advice, a quote, or a service agreement. Conditions at your home or property may differ; contact a qualified professional for an on-site evaluation before making repair, safety, or spending decisions.