

If your trash can smells like a forgotten July afternoon, you are not alone. The good news is that you can clean trash cans at home without turning your driveway into a gross little swamp, and the trick is mostly in the setup.
What You’ll need before you start
A messy job gets much easier when you stop it from becoming a bigger messy job. Before you start, gather everything in one place so you are not walking back through the house with wet gloves and trash water on your shoes.
For most cans, a simple setup works fine: rubber gloves, dish soap or a basic degreaser, a scrub brush, a hose, and a disinfecting spray. Keep a few paper towels or rags nearby for stuck-on gunk and a scraper if the bottom of the can has that glued-down mystery layer.
Best tools for a simple at-home trash can cleaning setup
You do not need a fancy kit. You need tools that keep your hands out of the mess and help water move where you want it to go.
A pair of waterproof gloves is the first thing to grab. After that, use a long-handled brush if you can, because short brushes usually mean more bending, more splashing, and dirtier clothes. A garden hose with a spray nozzle helps too, especially one with a stronger rinse setting. Add dish soap for ordinary residue, or swap to a degreaser if your can handles a lot of food waste.
Optional upgrades if the smell is really stuck
Sometimes the grime is gone but the smell hangs around anyway. That is when a few cheap add-ons help.
Baking soda helps absorb odor and moisture. White vinegar can cut through light residue and help freshen the surface. An enzyme cleaner is the stronger option for stubborn organic smells, which is just a simple way of saying smells caused by food, pet waste, or other stuff that used to be alive. That kind of cleaner breaks down the residue causing the odor instead of just covering it up.
Where to clean your trash can without making more work
Pick a spot where dirty water can drain away instead of pooling around your feet. A sloped driveway, gravel area, or patch of grass usually works better than a flat garage floor or a tight corner by the wall.
Avoid indoor spaces. Also skip any area where rinse water will sit and spread grime around. If you start in the right place, half the battle is already won.
Step 1: empty the can and knock loose debris out first
Do not start spraying a half-full can and hope for the best. Get everything loose and dry out first, because once water hits trash bits at the bottom, you get sludge.
<ol> <li>Put on gloves and remove the trash bag, liner, or any loose contents.</li> </ol>
<ol> <li>Tip the can over and shake out crumbs, leaves, and scraps.</li> </ol>
<ol> <li>Use a paper towel, plastic scraper, or old rag to pull up anything stuck to the bottom.</li> </ol>
<ol> <li>Toss that debris straight into a fresh bag so it does not end up back on the ground.</li> </ol>
Checkpoint: the can does not need to look clean yet, but the chunky mess should be gone.
Remove liners, loose trash, and stuck-on bits
This part is not glamorous, but it saves you time later. If a bag leaked last pickup day and dried into the bottom, scrape that up now while it is still mostly solid. It is much easier than trying to chase it around with soapy water.
Rinse lightly before you scrub
Give the inside a quick, light rinse. The goal is to soften dried residue, not fill the can with dirty water.
<ol> <li>Spray the inside walls and bottom for a few seconds.</li> </ol>
<ol> <li>Let that small amount of water loosen the dried grime.</li> </ol>
<ol> <li>Tip out any dirty water right away.</li> </ol>
That quick rinse makes the next step much easier and keeps the mess from turning soupy.
Step 2: apply soap or cleaner and let it sit
Here is where the real cleaning starts. The cleaner needs to coat the dirty surfaces and sit long enough to break down grease and residue.
<ol> <li>Spray or pour your cleaner inside the can.</li> </ol>
<ol> <li>Coat the bottom, walls, lid underside, and rim.</li> </ol>
<ol> <li>Add a little water if needed to spread the soap around.</li> </ol>
<ol> <li>Leave it alone for a few minutes.</li> </ol>
The catch is that scrubbing too soon makes you do extra work.
Choose the right cleaner for the type of mess
Use dish soap for normal household grime, especially if the can mostly holds bagged kitchen trash. Use a degreaser if the can has oily residue, food drips, or that slick film that never seems to rinse off. Use a disinfecting cleaner after washing if the main problem is odor or germs from diapers, pet waste, or spoiled food.
Match the cleaner to the mess and the whole job gets easier.
Let the cleaner dwell for a few minutes
Dwell time just means the amount of time the cleaner needs to sit to work. That few-minute pause loosens buildup so your brush can actually lift it instead of smearing it around.
<ol> <li>Wait 5 to 10 minutes, or follow the product label.</li> </ol>
<ol> <li>Keep the can upright so the cleaner stays on the dirtiest spots.</li> </ol>
<ol> <li>Re-spray any area that dries too fast.</li> </ol>
Checkpoint: the grime should look softened, not baked on.
Step 3: scrub the inside, lid, and rim
Now you are moving the loosened mess off the surface. Focus on the places that hold smell the longest: the bottom, corners, lid underside, and rim.
<ol> <li>Start with the lid and upper rim.</li> </ol>
<ol> <li>Move down the side walls.</li> </ol>
<ol> <li>Finish with the bottom and corners.</li> </ol>
<ol> <li>Reapply cleaner to any stubborn patch and scrub again.</li> </ol>
Start at the top and work down
Always scrub from top to bottom. If you clean the base first and then scrub the lid, dirty water runs right back over what you already finished. It is like mopping the kitchen and then tracking muddy shoes across it.
Pay extra attention to seams, wheels, and handles
Grime loves hidden spots. Check the hinges, molded seams, wheel areas, and the outer handles where your hands go every week. Those little pockets often explain why a can still smells bad after a quick rinse.
<ol> <li>Scrub around lid hinges.</li> </ol>
<ol> <li>Get into molded corners.</li> </ol>
<ol> <li>Brush around wheel wells.</li> </ol>
<ol> <li>Clean the handle grips and rim edges.</li> </ol>
Use a long-handled brush to keep splashback down
A long-handled brush gives you distance, which matters. You get better pressure with less bending, and dirty water stays farther from your shirt, face, and shoes. Short brushes can work, but honestly, they make this job feel worse than it needs to.
Step 4: rinse thoroughly without flooding the area
Once the grime is loose, rinse it away completely. Leftover soap and residue can dry into a film, and that film grabs new dirt fast.
<ol> <li>Spray from the top edge downward.</li> </ol>
<ol> <li>Rotate the can as you rinse.</li> </ol>
<ol> <li>Tip the can to drain dirty water out fully.</li> </ol>
<ol> <li>Repeat until the water runs clear.</li> </ol>
Spray from top to bottom
Use a steady spray pattern and chase the grime down the walls and out the bottom. That keeps debris moving in one direction instead of sloshing around inside the can.
Check the bottom for leftover sludge
The bottom is where the heavy stuff settles, so inspect it before you move on. If you still see a slimy ring, dark residue, or sticky patch, give it one more round of cleaner and a quick spot-scrub.
Checkpoint: the inside should look visibly clean, not just less gross.
Step 5: disinfect and deodorize the can
Washing removes the visible mess. Disinfecting and deodorizing deal with the smell that tries to come back the next day.
<ol> <li>Spray disinfectant on the inside surfaces.</li> </ol>
<ol> <li>Cover the lid underside, rim, and handles too.</li> </ol>
<ol> <li>Let it sit for the time listed on the label.</li> </ol>
<ol> <li>Add a deodorizing step if odor lingers.</li> </ol>
Use a disinfectant the right way
Dwell time matters here too. If the label says 10 minutes, that means the surface needs to stay wet for 10 minutes to do the job. A quick spray and immediate rinse usually does much less than you think.
Try baking soda or vinegar for lingering smells
If the can still smells funky after disinfection, sprinkle baking soda into the bottom once the can is mostly dry, or wipe problem areas with white vinegar and let them air out. This helps with odors from food waste, diapers, and pet messes.
Just keep the order straight: clean first, deodorize second. Baking soda is for odor control, not for replacing actual washing.
Step 6: dry the can completely
A damp can can start smelling bad again faster than you expect. Drying is not the boring final step, it is part of the cleaning.
<ol> <li>Tip the can so water drains out.</li> </ol>
<ol> <li>Leave the lid open.</li> </ol>
<ol> <li>Set the can in sun and airflow if possible.</li> </ol>
<ol> <li>Wait until the inside is fully dry before closing it up.</li> </ol>
Air-dry with the lid open
Sunlight and moving air do a lot of work for free. Leave the can open in a sunny spot and let the remaining moisture evaporate. Even fifteen or twenty extra minutes can make a difference.
Wipe down handles and touch points
Use a clean rag or paper towel to wipe the outer handles, lid edge, and any spots you touch often. It is a quick finish that makes the whole can feel clean, not just look rinsed.
Step 7: set up simple habits to keep it cleaner longer
A clean can stays cleaner when small problems get handled early. That means fewer deep scrubs and fewer surprise odors near the garage door.
<ol> <li>Use stronger trash bags.</li> </ol>
<ol> <li>Double-bag wet or messy trash.</li> </ol>
<ol> <li>Sprinkle a little baking soda in the bottom.</li> </ol>
<ol> <li>Rinse spills as soon as you notice them.</li> </ol>
Use sturdy bags and double-bag wet trash
Thin bags are often the reason the bottom of the can turns into a science project. If you are tossing food scraps, leftovers, or anything damp during a hot week, double-bag it. One extra bag is much easier than another full can wash.
Sprinkle baking soda in the bottom between cleanings
A light layer in the bottom can help absorb moisture and smell between washings. It is simple, cheap, and worth doing, especially in warmer weather.
Rinse spills as soon as you notice them
If a bag breaks or leaks, rinse the can that day if you can. A two-minute cleanup now is a lot easier than scraping dried sludge next weekend.
Common mistakes that make trash can cleaning messier
Most bad trash can cleanups go sideways for the same reasons: too much soap, poor drainage, or trapping moisture when you are done.
Using bleach without ventilation or proper rinsing
Bleach can create strong fumes in enclosed spaces and can leave residue behind if you do not rinse well. If you use a harsher cleaner, do it outdoors with plenty of airflow and follow the label exactly. More product does not mean a better result.
Cleaning on a surface where runoff pools
Standing dirty water makes everything take longer. Your brush gets dirtier, your shoes get dirtier, and grime spreads beyond the can. A better location can save more time than a stronger cleaner.
Closing the lid before the can is fully dry
This is one of the most common reasons a freshly washed can still smells off the next morning. Moisture gets trapped, the air stays stale, and odor builds back faster than you expect.
Troubleshooting: if your trash can still smells or looks dirty
Sometimes one pass is enough. Sometimes the can needs a second round, especially if the buildup is old or the smell has been there for a while.
If the odor is still there
Repeat the disinfecting step and let the product sit for the full label time. If the smell still hangs on, try an enzyme cleaner, especially for old food spills, pet messes, or anything that soaked into seams and textured plastic. The source of the smell usually needs to be broken down, not covered up.
If sticky residue will not come off
Reapply soap or degreaser and let it sit longer before scrubbing again. Use a firmer brush on the problem area and focus on one section at a time. Some residue needs a second round. That is normal.
If the outside of the can looks grimy
Wash the exterior with soap and a brush, then rinse it down like the inside. Pay attention to the lid top, side panels, and wheels, especially if the can sits near dust, mud, or spilled trash. For tougher exterior grime, a light pressure washing can help, as long as you keep the spray controlled.
When to clean it yourself and when to call for help
A regular household bin is usually an easy DIY job. Bigger messes are a different story.
Good DIY situations
Cleaning your own can makes sense when it is a standard residential bin with normal household waste, mild odor, and manageable buildup. If you have one or two cans and a place outside to rinse them properly, you can get this done without much trouble.
Signs it makes sense to bring in a pro
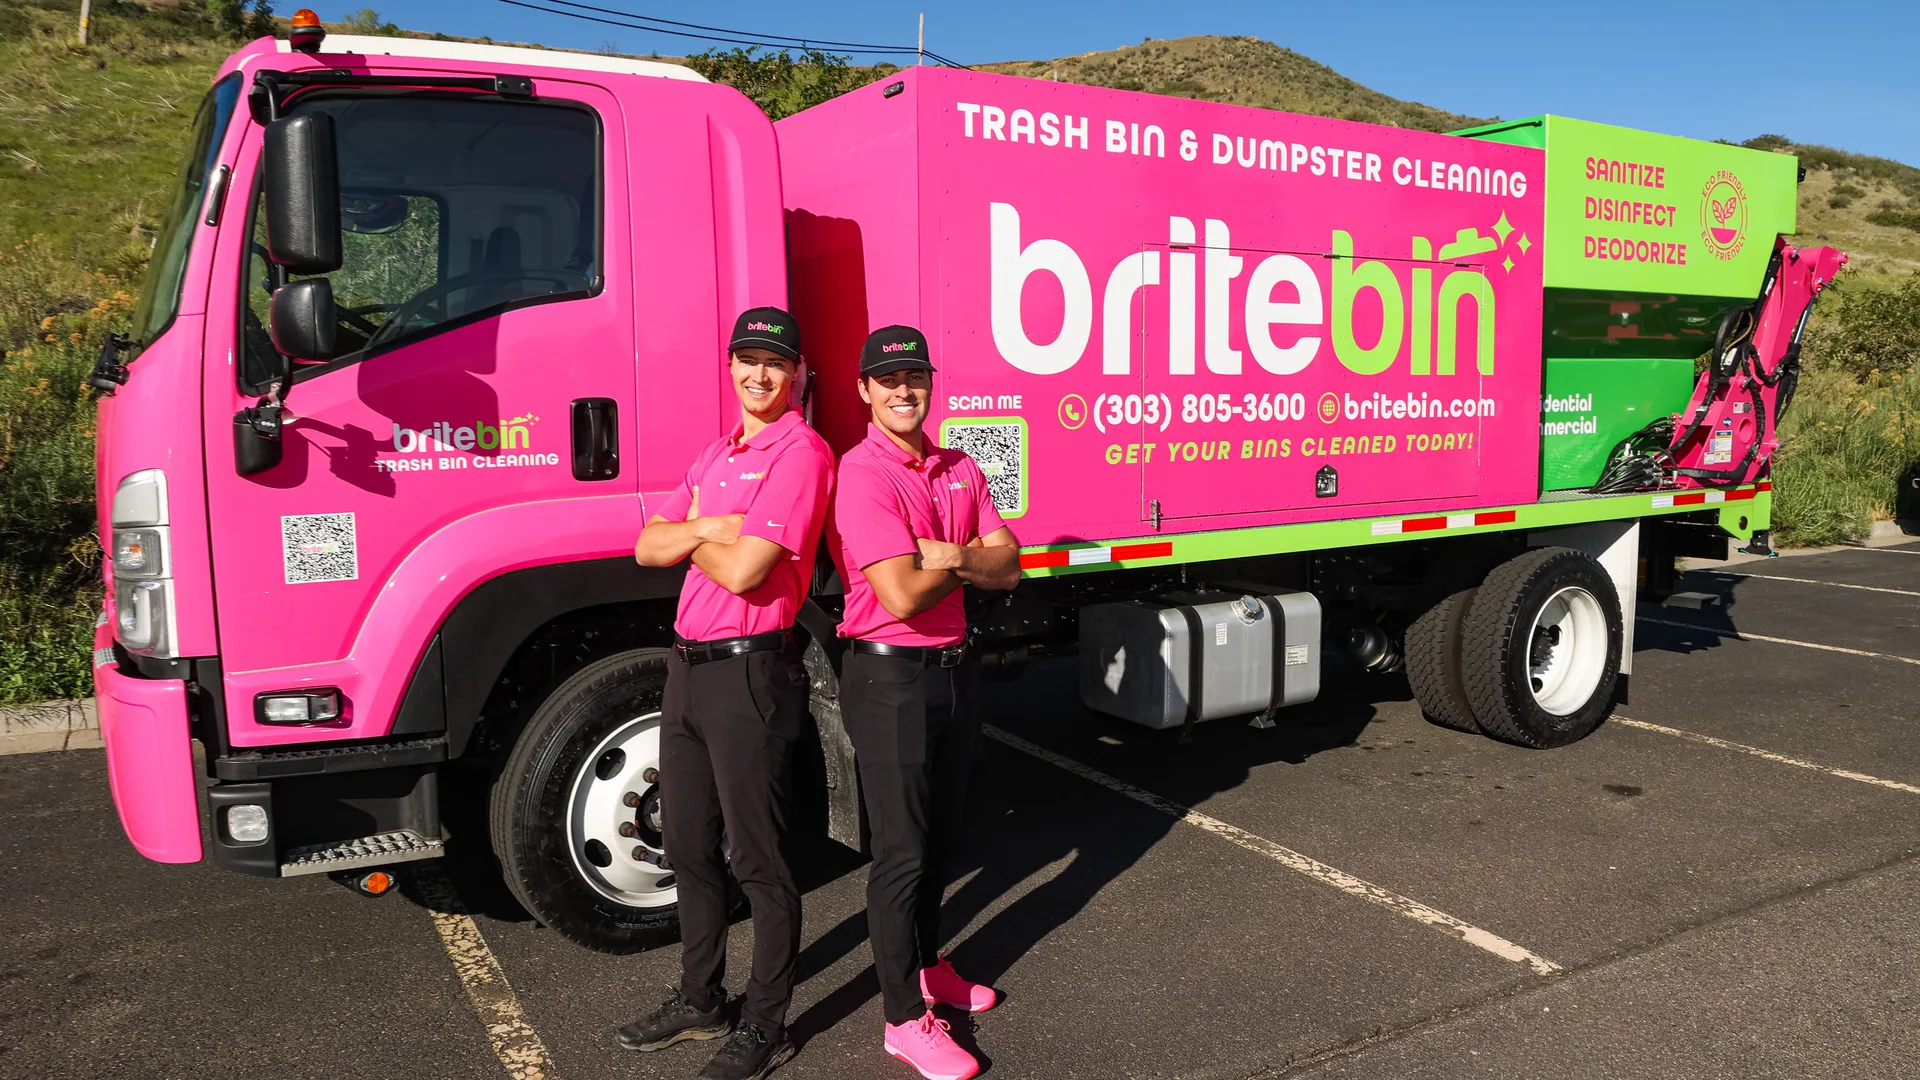
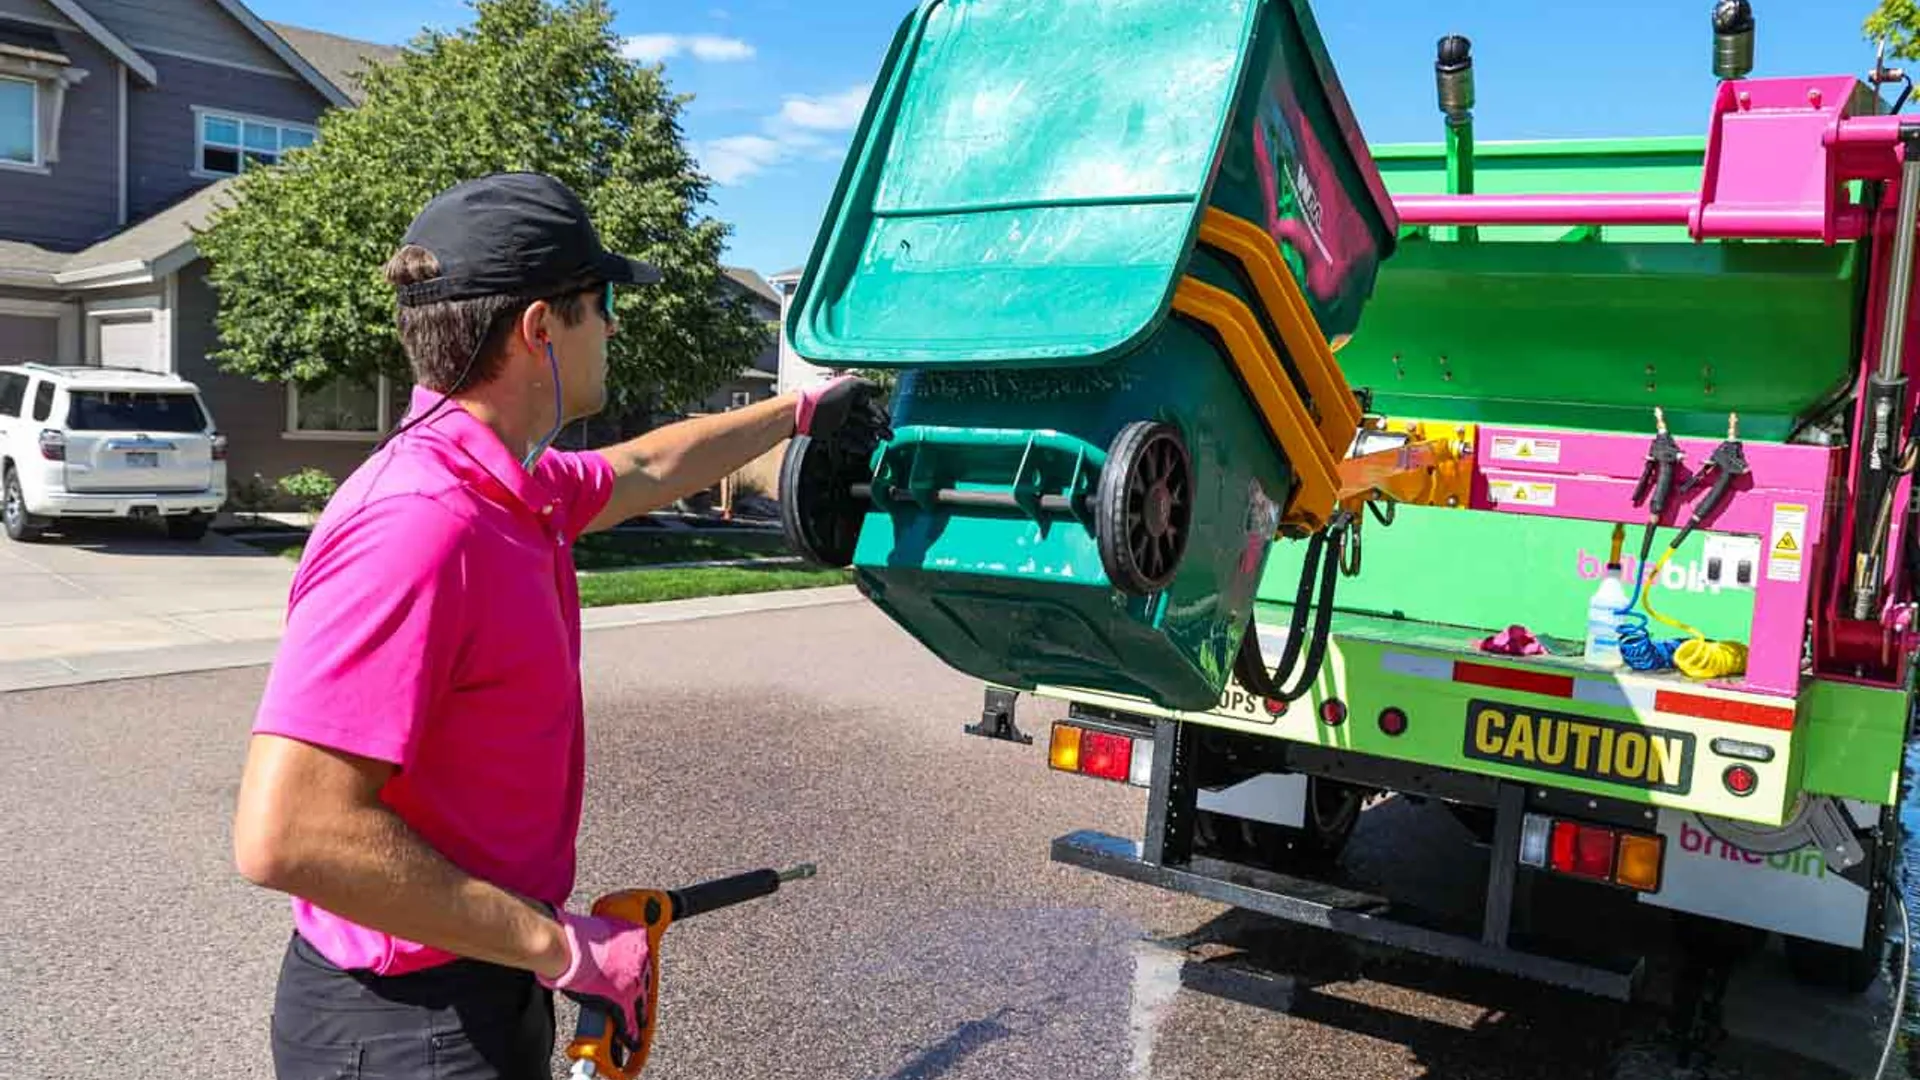
If you are dealing with multiple bins, shared commercial cans, dumpster pads, pest problems, heavy grease, or recurring odor that keeps coming back, handing it off can save time and hassle. The same goes for properties that also need exterior cleanup, since some companies handle trash bin cleaning, dumpster cleaning, and related pressure washing services in one visit.
What results to expect and what to do next
When you are done, your can should look visibly clean inside, feel dry, and smell neutral or close to it, not like cleaner trying to hide something worse. It does not need to look brand new. It just needs to stop being the thing you dread opening.
Pick one can, wait for the next dry afternoon before pickup day, and clean it then. That timing gives you an empty bin, less mess, and a much easier job from start to finish.
Disclaimer:
This article is for general informational purposes only. It is not professional advice, a quote, or a service agreement. Conditions at your home or property may differ; contact a qualified professional for an on-site evaluation before making repair, safety, or spending decisions.